Page History
...
Installing the WordPress Plugin
The Plugin can only be received by a us$100 purchase from BookingCenter that consists of the 'Front End' and 'Back End' projects below. It is assumed that our client has a Wordpress administrator who can install the plugin and make the setting detailed in this document. If you do not have a qualified WordPress administrator, BookingCenter can do this project for you, but it requires the following conditions:
- You have a modern WordPress installation that is working and BookingCenter can view the website (ie, it is publicly or privately available via the web).
- You will need to pay BookingCenter staff $250 to do the setup and customization work detailed on this page for the Plugin to work. If you have a Wordpress administrator, they should be able to do this work for you.
- You will need to make a Wordpress administrator User account for BookingCenter staff (ie, an ID and Password that has ADMIN privileges, as that is required to install plugins for WordPress). We recommend you delete this User account after BookingCenter has completed installing and getting the plugin to work.
With the above conditions, BookingCenter can proceed to do this work for you, but if you have a Wordpress administrator/webmaster, they should be able to do this work for you.
How to install a WordPress Plugin
...
First, you need to download the plugin from the source: bc_wp_plugin.zip. our server. The email the BookingCenter sales team sends to you (which will be a zip file) will have a link to download it. Save that file on you computer.
Next, you need to go to WordPress admin area and visit Plugins » Add New page.
...
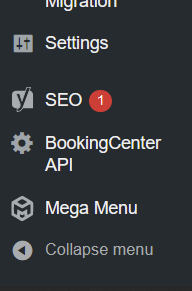
You should see it on the side Menu. BookingCenter API
Customization
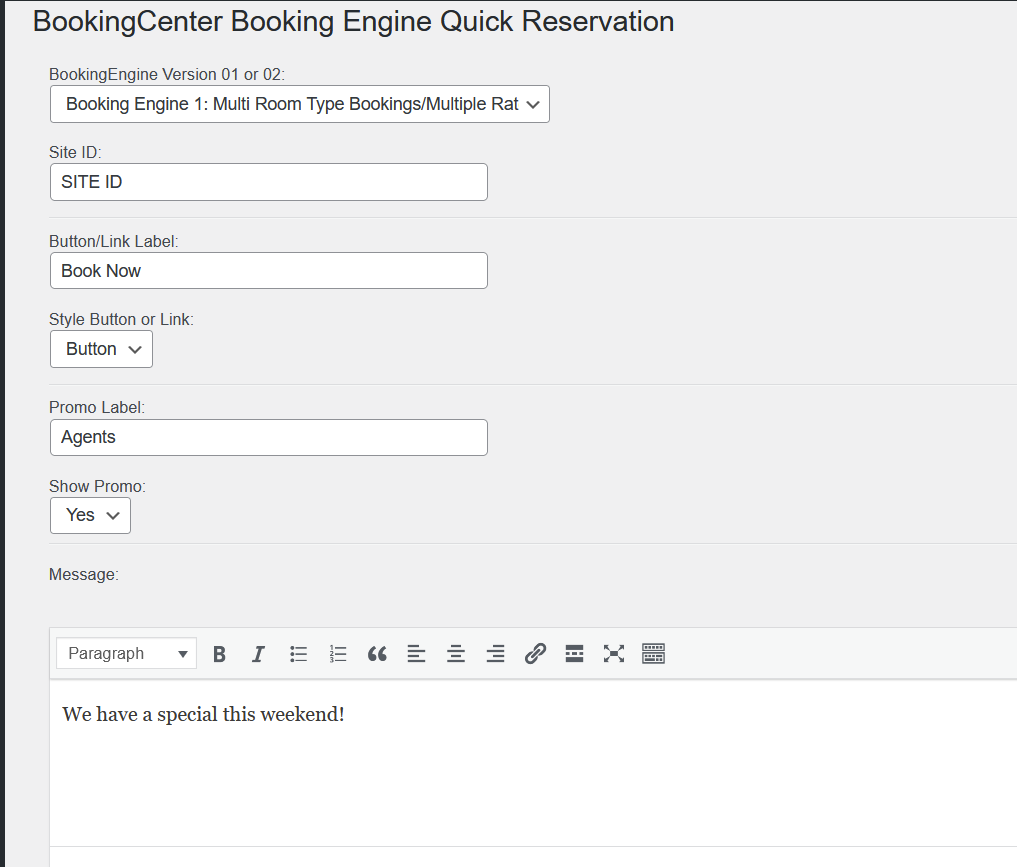
The Plugin can only be installed by BookingCenter (or we can provide to your WordPress administrator) and consists of 2 pieces:fields for the Customization of the WordPress Plugin are as follows:
Booking Engine. This needs to be either template 01 or 02 as detailed in the Booking Engine documentation here.
Site ID: the customer's Site ID is needed to be placed here and if the customer doesn't know, ask our Support team and we can provide the Site ID.
Style Button: play around with the selection offers to see what you prefer.
Promo Label: This is an area where a Guest can enter a Promo Code to receive a unique allotment of rates and availability. See this document to learn how Promo Codes are established and managed.
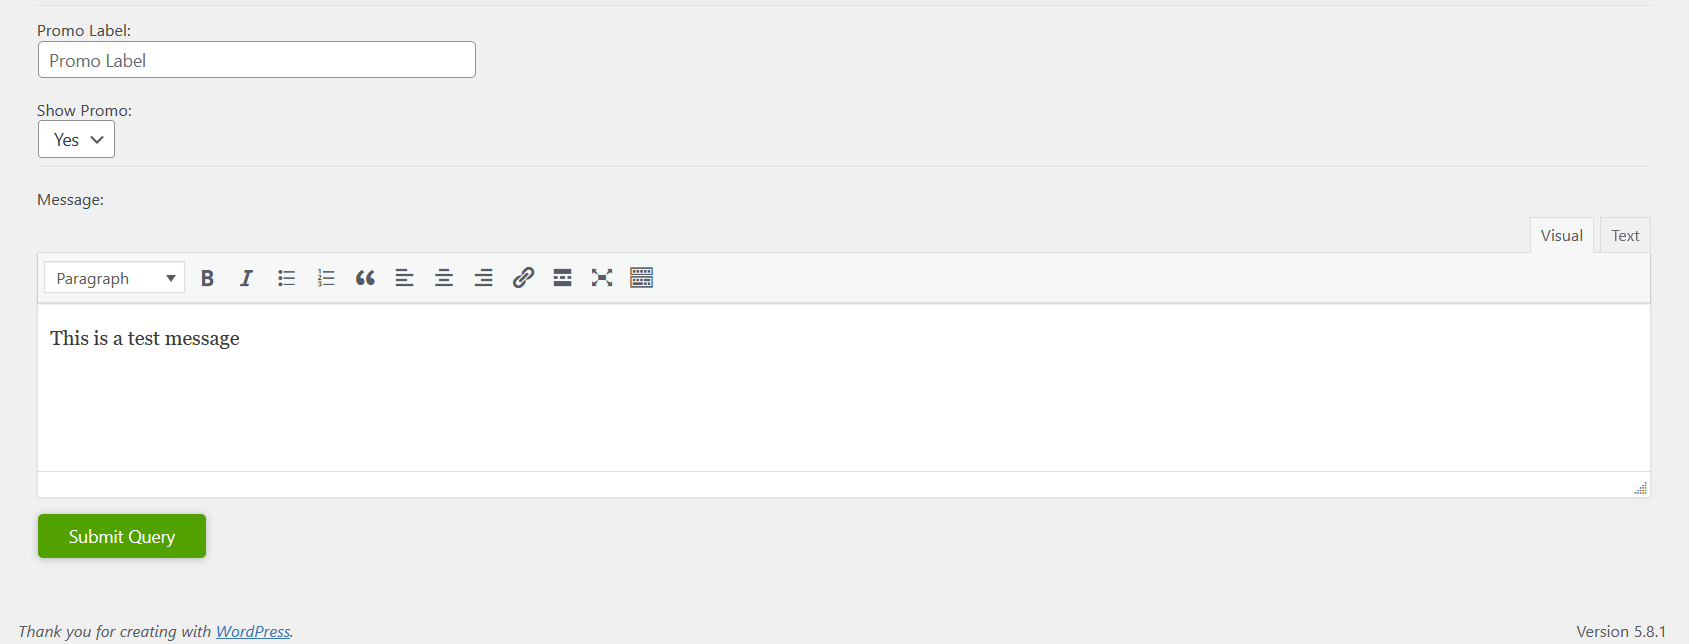
Promo Label: this is the label you will use to explain to your visitor what the Promo field is called. The section below called 'Message' is where you can write more details about making an online booking and/or using the promo code section.
Show Promo: allows you to show/hide the Promo 'concept' from the way the Plugin behaves.
Front End
The menu system you use will get a new menu that can be the color your choose as well as the language you want to use: such as 'Book Now' or 'Check Availability' or 'Bookings' etc. Here are a few examples:
...
If entering a message, one can get fancy with HTML when drafting it.
*note, the plugin is not going to be a 'page' on your website, so there is no 'shortcode' to take you to to a specific WordPress page. The plugin is intended to become a menu option on your website, and therefore available from each page on your website to invoke the 'Book Now' (or whatever words you use on that menu to invoke the action) from your menu. You must be able to make and manage WordPress menus in order to make effective use of the Plugin.
Contacts us to get purchase the BookingCenter WordPress plug-in for your WordPress theme.
...
Overview
Content Tools